I recently went through all of my Montessori, school supply, art, and toy catalogs that I was saving for ideas. I always see things and think “I could make that for a lot less” or “Tim could make that for me.”
This is one of those projects.
I was able to make it with entirely recycled materials that were around my house, but even if you needed to purchase a few things, it would definitely be less than $10.
Materials Needed
Cardboard box
Fabric to cover and line box (a yard should do the trick unless you have an extra large box)
Adhesive that will work on fabric (I used a spray)
Scissors
Tape
Knife (I just used a serrated bread knife…I guess if you want to be fancy you could use a craft knife)
Pencil
Circle Template (I used a small glass dinner plate)
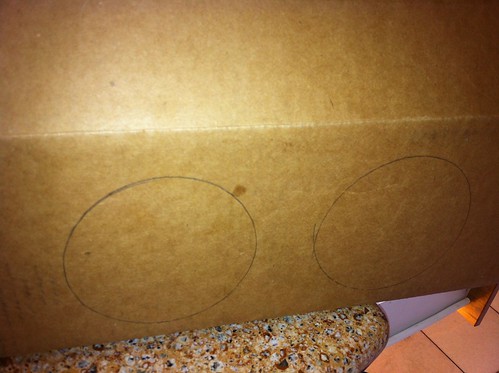
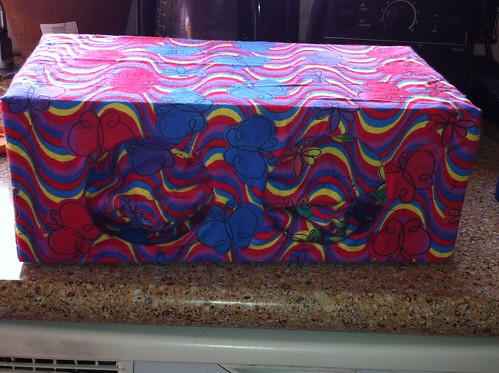
Trace two circles on the front of the box (or be a rebel and make it a one handed box and trace just one). Cut out the circles using the knife.
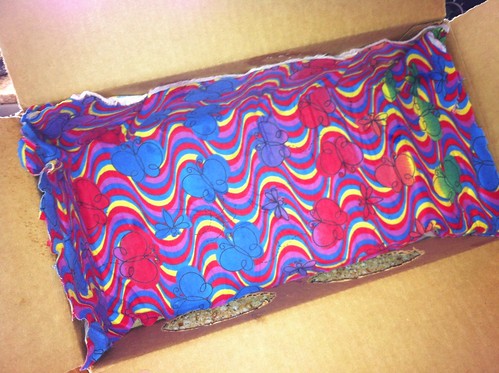
Line the bottom and sides of the box with a piece of fabric
Cut a piece of fabric the width of the box, roughly as long as the height plus the length
Glue the fabric along the top edge above the holes, leaving the rest of the fabric lose.
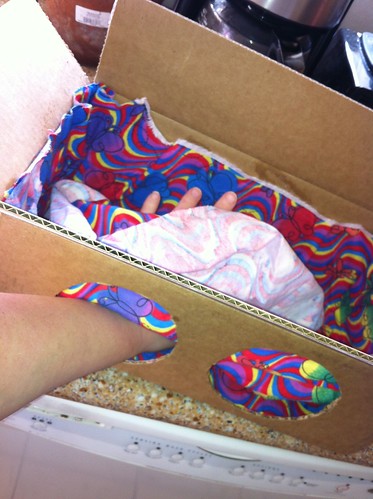
The fabric will hang down and cover the holes, make sure the fabric is hanging pretty side out.
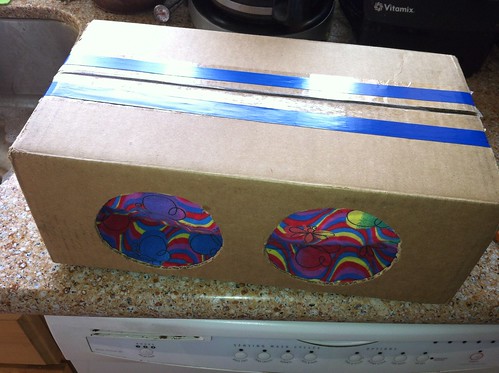
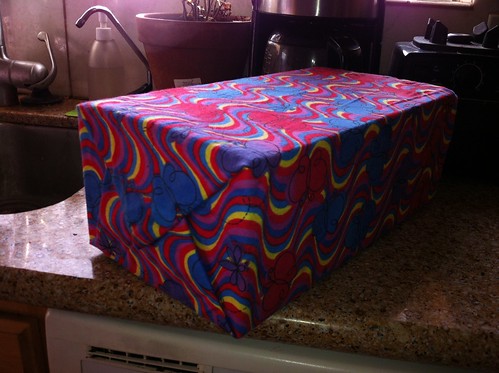
Wrap the entire box in fabric like a present.
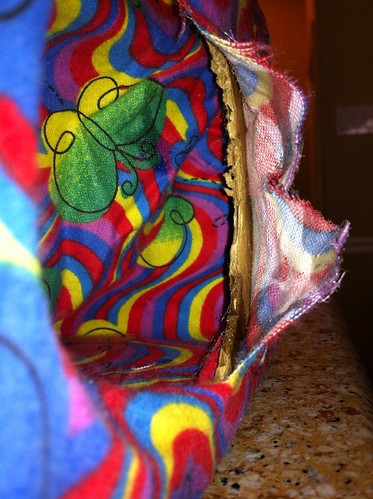
Cut out the circular openings and glue the fabric back around the cardboard edges.


Recent Comments