It has been a long time since I last added to my running series on teaching techniques that I consider core to a Montessori learning approach. To view previous posts, click here.
Today I am talking about pin punching. This is one of my favorite activities because almost anyone can set up the activity at home with materials you already have. It also works well for seasonal adaptations and as a supplement for various thematic units. Neither thematic units or seasonal adaptations are particularly Montessori, but most homeschoolers use one or the other to some extent. Thematic units is one way we have conquered the materials/space battle with our large age range and seasonal activities seem to refresh my children’s interest in activities I want them to keep working on.
Pin punching is a fine motor activity found in Montessori primary classrooms (ages 3-6). Using a small push pin, students carefully create perforation around a shape by making small holes along the line. The student can then gently tear out their shape. The closer together and more accurate the punching, the easier it is to remove the shape creating a built in control of error and motivation for careful work. Visual motor coordination is also developed by keeping holes close together along the line. Holding the small push pin builds strength in the hands for future fine motor development.
Materials and Set Up
Prepare a location for pin punching and organize supplies together. Materials needed are a punching surface, small push pins, and prepared shapes. A carpeted surface or carpet square can work as a punching surface, depending on the pile of the carpet and the overall thickness. Pieces of cork (such as a trivet) also work well. For pins, traditional office supply push pins will suffice. Although there are a some fun varieties and I find using special materials does help draw a child’s interest even further.
Shapes can be prepared by tracing shapes onto colored construction paper or printing onto card stock or regular printer paper. There are advantages and disadvantages to each type of paper so experiment to find what works best for your purposes! If you are new to pin pushing, I created a set of
geometric pin punching shapes available for free in my Teachers Pay Teachers store. I also created
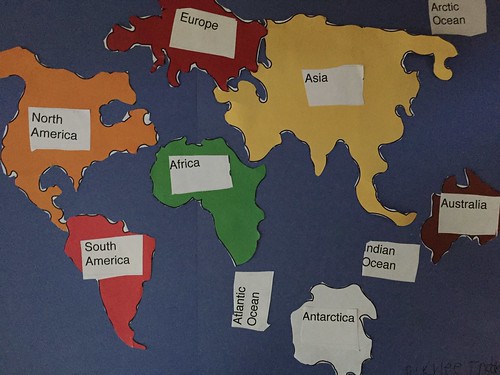
an advanced mapping set, with shapes for each continent. I’m having fun learning new drawing tools on my computer so look for additional sets soon- I take requests!

Presenting
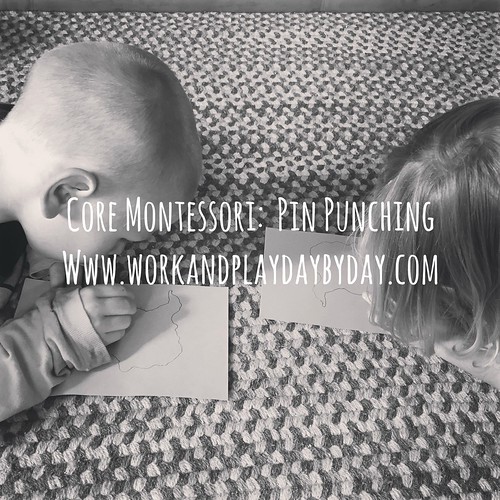
Show your child where to gather the materials they will need for the activity. I learned from Caleb’s OT that laying flat on the belly with the belly button on the ground has some motor related advantages for handwriting. Since pin punching is a motor task directly related to handwriting and I find this is the position my kids are most comfortable in anyway so that’s how I now introduce it.
I find modeling this activity side by side the first time to be more than adequate instruction (yes I lay on my belly on the floor too!). I keep a close eye on any incorrect pin grip and simply demonstrate going very slowly and carefully. The first time, usually I’m only a short way through my shape when they “finish”. I make them wait for help gently tearing the shape until I’m done and suggest maybe they would like to add a few more dots to make it easier. Works like a charm to contain my rushers.
How hard it is to tear the shape is directly related to how well punched it is. Sometimes I need to help the first few times.
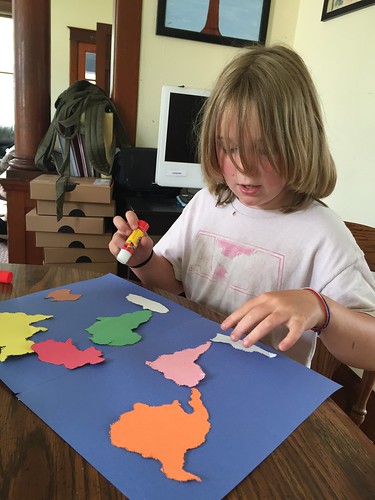
When your child is finished with their work, consider ways to extend the activity into another project such as by punching a variety of shapes and making a piece of art, or using all of the continents to make a map (if you like the idea of creating your own map, but don’t want to set up pin punching as an activity, the TPT file will definitely still work with as a cutting activity).

Resources


This post contains affiliate links. Thank you for your support.


I absolutely LOVE this idea!!! My son is definitely too young for something like this right now, but I want to keep this in mind, because it really is a perfect afternoon activity for a homeschooler. I love all the aspects and thought you've put into this activity!! Thanks so much for sharing <3